

Design Challenge Day 14: Creating Typography Illustration in Illustrator
Creating Typography Illustration in Illustrator
I was browsing around DesignBundles this morning and found a free download of these adorable little monsters, one with text and one without. That led me to a cool tutorial on how to fit text into a shape, but alas, it was for Inkscape. I decided to search for a similar Illustrator tutorial and found this one from Spoon Graphics.
The Process
To create this, an image is dropped into Illustrator, scaled to the artboard, and transparency set to 50%. Using the pen tool, create the outline of the main shape, along with any other elements (in the case of the example, the windows and wheels). These additional elements are integrated by using the pathfinder tools. Once the outline is done, select a hand drawn font for a text quote. I picked Rock Salt. Once you've added your text, create outlines, ungroup the text, then group the letters for each word together. Place the words approximately where you'd like them on top of the object.
Select the first word and click on Object>Envelope Distort>Make with Mesh. Set the number of rows to one and the columns to anywhere from three to five (or more) depending on the length of the words you're using. Click on the Direct Selection tool and then double-click on an anchor to begin shifting the word around. Do this for each word until you've filled up the object.
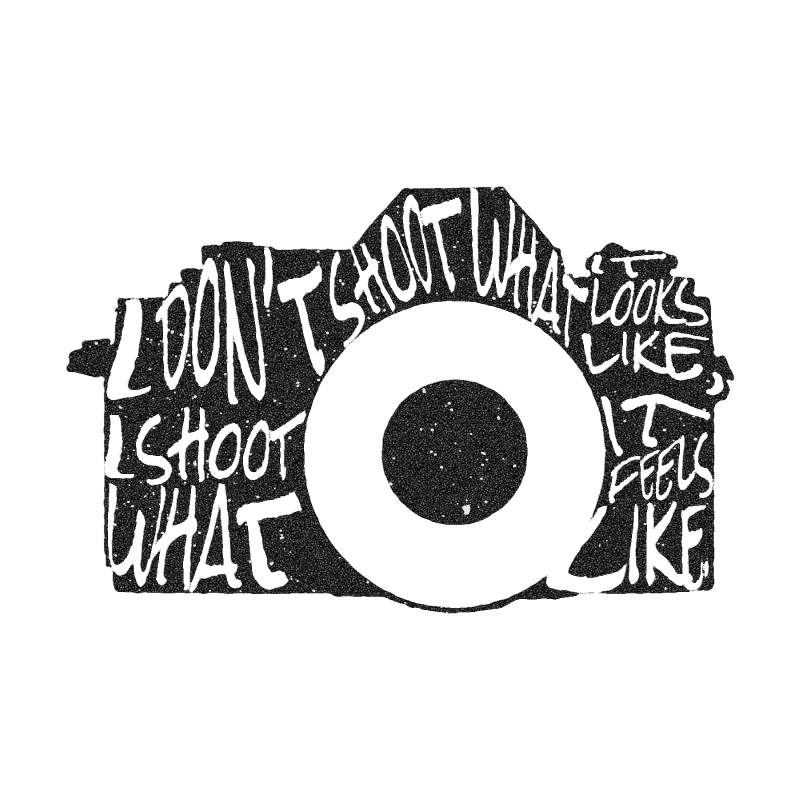
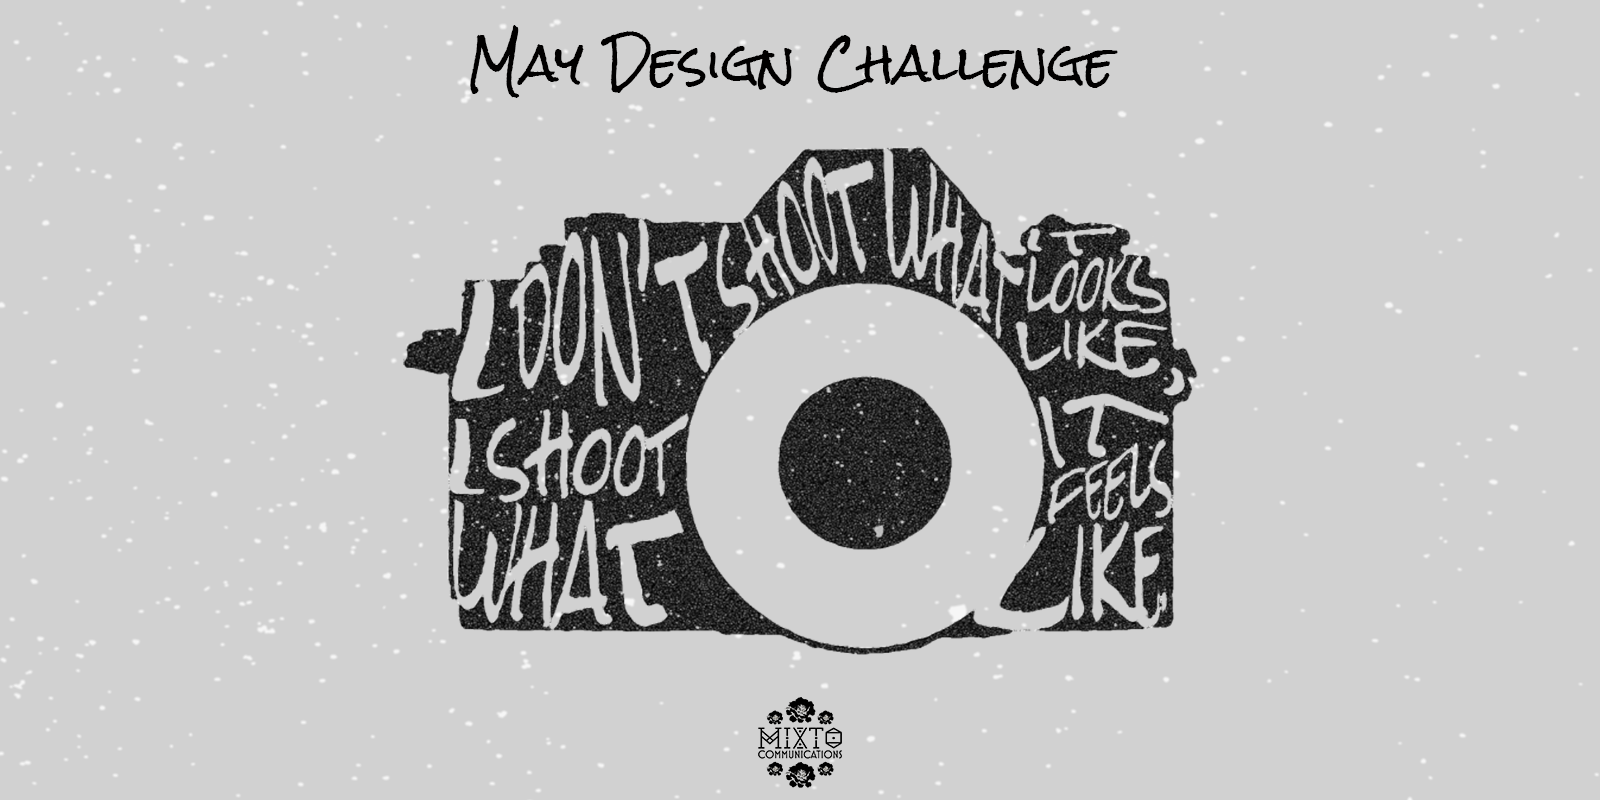
My digital camera typography illustration
The Presentation
I really liked this tutorial, but I'm glad I read the YouTube comments first, as that's how I learned it was important to double-click the anchor in order to be able to warp the text. Several viewers also complained about the speed of the tutorial; this is one I had to set to 50% speed (and at one point, 25% speed) in order to follow along during a few points. It may be that these tutorials are aimed at users who are more familiar with Illustrator, though they're not marketed as such. I did like that there was a second example shown at the beginning of the tutorial to give me another idea of what this could produce.
Takeaways
I've never used the Envelope Distort tool - that was very cool! I need to spend more time with it, but I'll put it to good use. I felt even more confident than usual with the pen tool and when I hit a snag related to paths (a not uncommon problem for me), I was patient with myself and able to figure it out on my own. I can envision making some fun gifts as a result of this tutorial!