How to Change a Toshiba satellite laptop's CMOS battery?
The CMOS battery is a small but crucial component in a laptop that helps maintain the system's date, time, and BIOS settings even when the laptop is powered off.
Over time, the CMOS battery may lose its charge or become faulty, causing issues with the laptop's performance and functionality.
You will be guided step-by-step through the procedure for changing the CMOS battery in a Toshiba Satellite laptop, ensuring your device continues functioning smoothly.
Step 1: Gather the necessary tools
Before you begin replacing the CMOS battery in your Toshiba Satellite laptop, make sure you have the following tools ready:
Small Phillips screwdriver
You'll need this tool to remove the screws that secure the laptop's cover and the CMOS battery compartment.
Antistatic wrist strap (recommended)
An antistatic wrist strap helps protect your laptop's internal components from any static electricity discharge during the replacement process. It is highly recommended to wear one to prevent any potential damage.
Replacement CMOS battery
Ensure you have a replacement CMOS battery that matches the specifications of your Toshiba Satellite laptop model.
Check the laptop's user manual or the manufacturer's website to find the correct battery model for your specific laptop.
With these tools, you'll be well-prepared to proceed with the CMOS battery replacement process and ensure a smooth and successful operation.
Step 2: Prepare for the replacement
To ensure a safe and smooth CMOS battery replacement process in your Toshiba Satellite laptop, follow these preparatory steps:
Shut down your laptop
Save any open files and properly shut down your laptop. Before continuing, make sure it is totally turned off.
Unplug the power cord.
Disconnect the power cord from your laptop and unplug it from the electrical outlet. This step is crucial to avoid any electrical hazards during the replacement process.
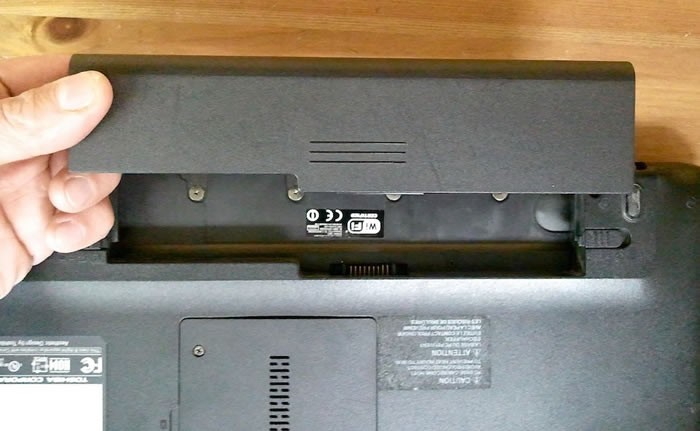
Remove the laptop battery (if applicable)
It is best to pull out the battery from your laptop if it has one in order to proceed
.
This decreases the possibility of unintentional electrical accidents and helps prevent any power supply to the internal components.
Wear an antistatic wrist strap.
To safeguard the sensitive internal components of your laptop from any static electricity discharge, it is recommended to wear an antistatic wrist strap.
This strap helps dissipate any static charge from your body, preventing potential damage to the laptop's circuitry.
By taking these preparatory measures, you create a safe and static-free environment for the CMOS battery replacement, minimizing the risk of electrical damage to your Toshiba Satellite laptop.
Step 3: Access the CMOS battery
To access the CMOS battery in your Toshiba Satellite laptop, follow these steps:
Remove the laptop's bottom cover
To remove the screws holding the bottom cover of your Toshiba Satellite laptop in place, use the tiny Phillips screwdriver. To prevent losing the screws, store them in a secure location.
Locate the CMOS battery.
Once the bottom cover is removed, carefully examine the motherboard for the CMOS battery. It is typically a small, round, silver coin-like object.
The battery is usually placed in an easily accessible location, such as near the RAM slots or close to the center of the motherboard.
However, the exact placement can vary depending on the specific model of your Toshiba Satellite laptop.
Identify the CMOS battery connector.
Take note of the CMOS battery's connector type. It can be a simple push-in or a small two-pin connector with a cable.
This information will be helpful when removing the old battery and connecting the new one later.