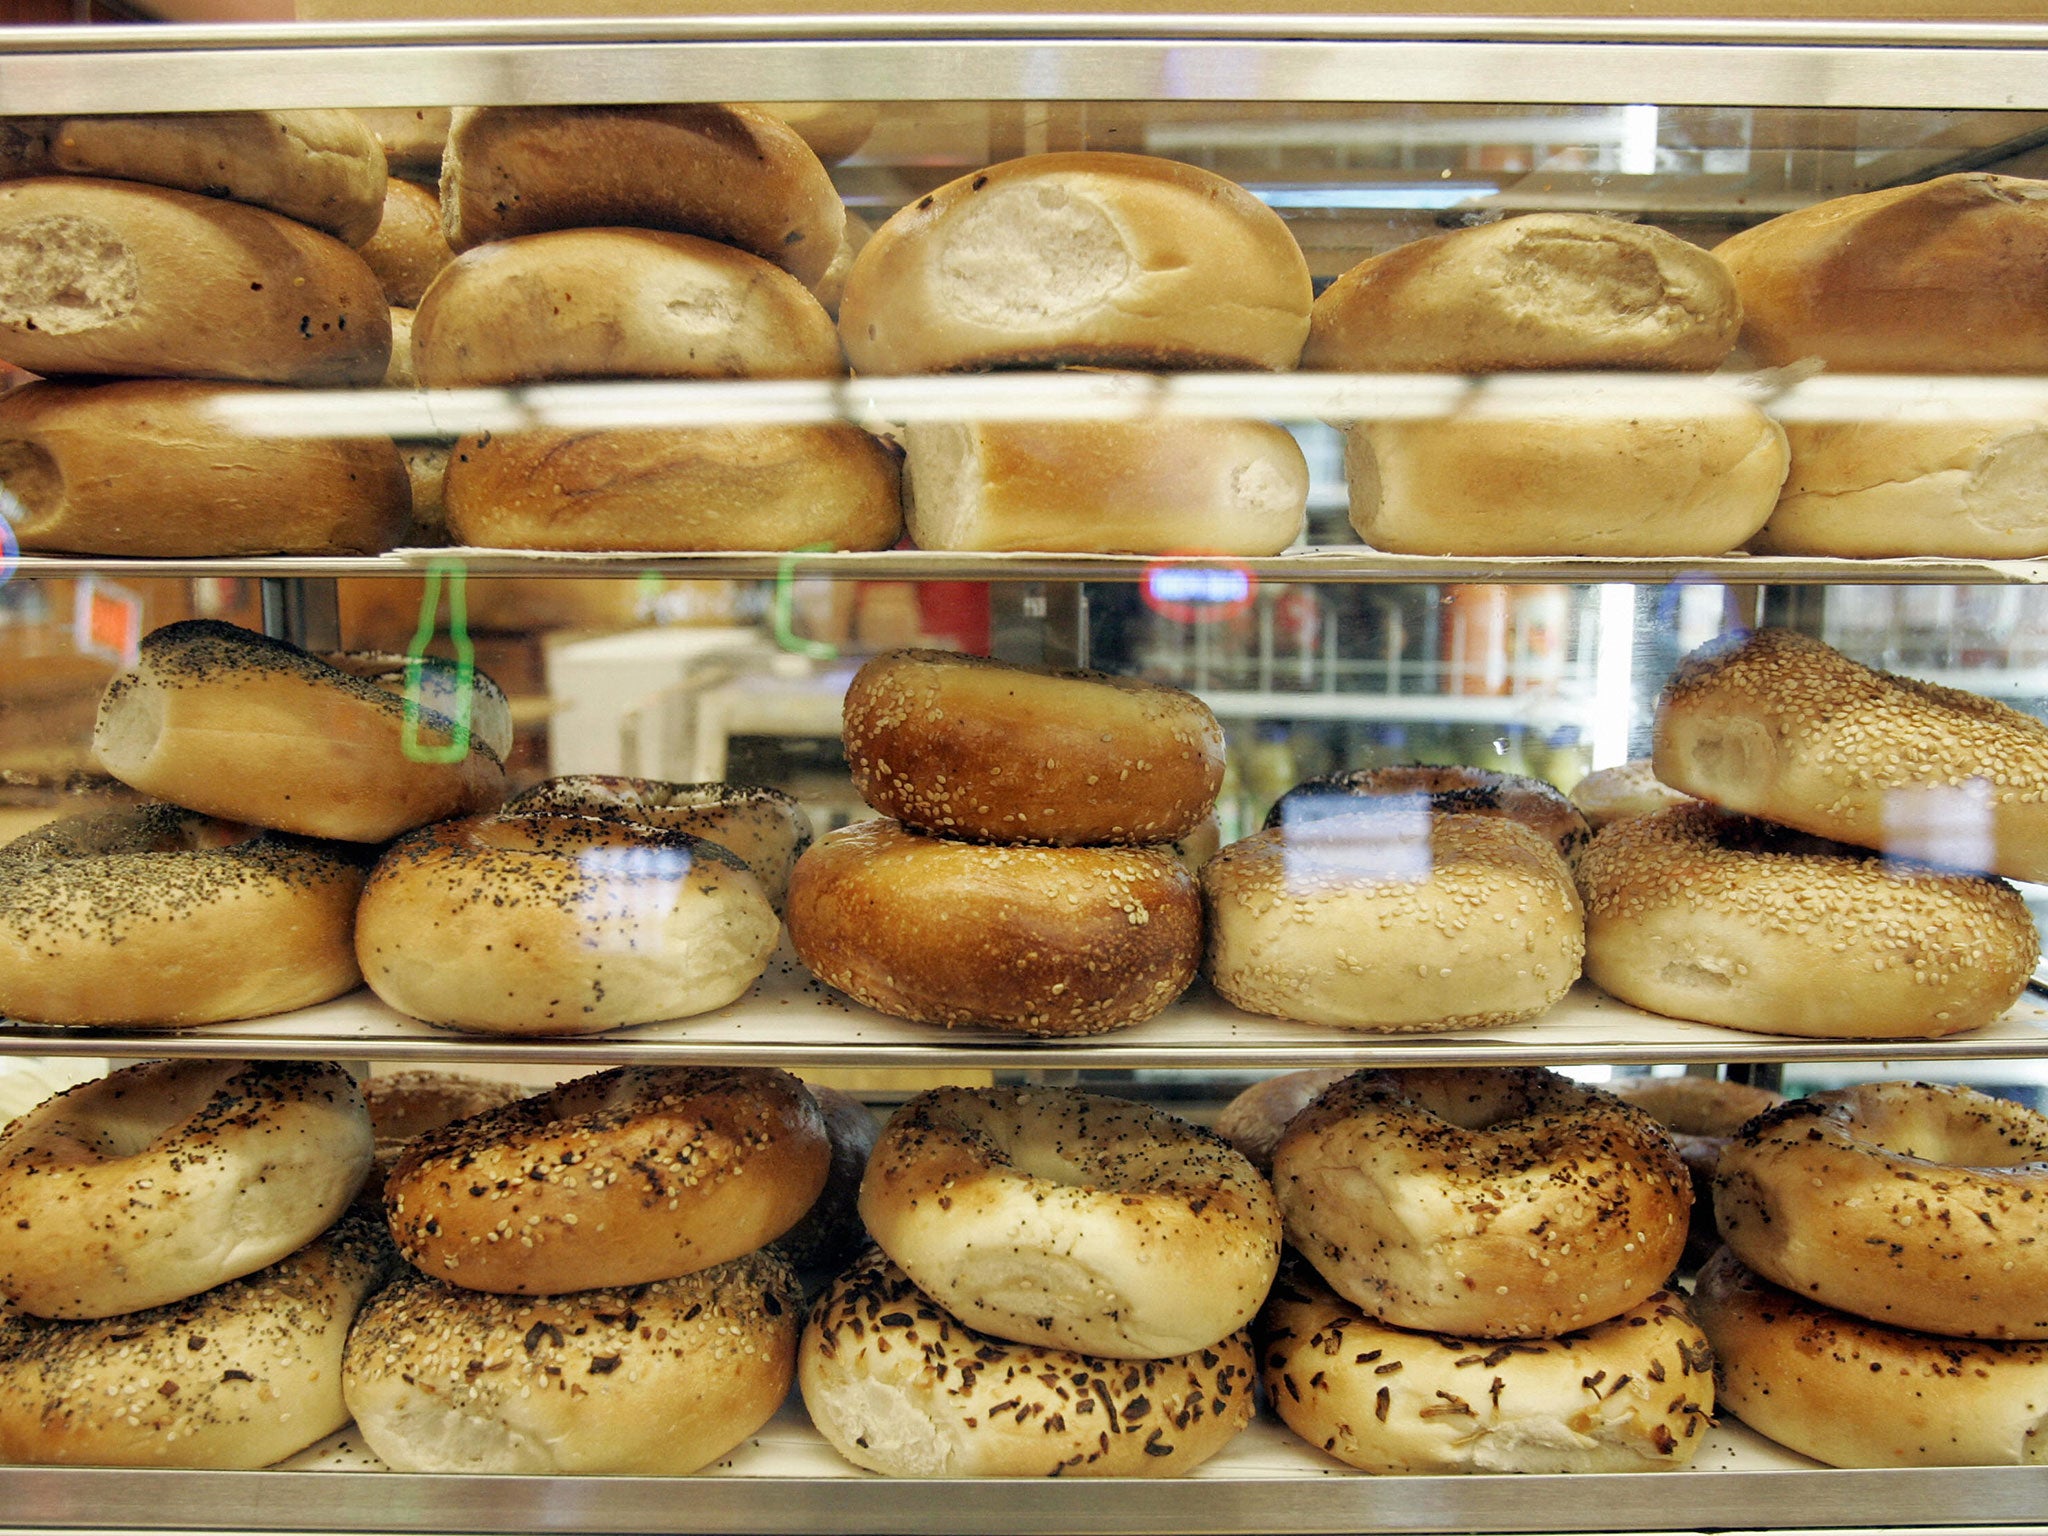
How to make the perfect New York-style bagel

Stay ahead of the curve with our weekly guide to the latest trends, fashion, relationships and more
Stay ahead of the curve with our weekly guide to the latest trends, fashion, relationships and more
Unless you live in New York, it can be tricky finding a good bagel. But you can easily cook them yourself - even if you’re a beginner, results will vastly surpass almost anything you’re likely to buy.
No special skill or elaborate equipment is required to turn out bagels that are golden and crispy on the outside, chewy on the inside and absolutely impossible to resist. Can you boil a pot of water? Then you can do this.
You don’t even need that famed New York tap water, whose mythical qualities have been laughably touted for far too long as the secret ingredient to the Big Apple’s bagels.
Neither of us is a professional baker, but we do love bread. Motivated by the difficulty of finding a decent bagel within stumbling distance on weekend mornings, we both independently began tinkering with home bagelmaking, just for fun. Even if the results were less than Upper West Side quality, they could hardly be worse than (shudder) a bagel from the freezer aisle.
“I don’t think there’s any good reason to be intimidated” by making bagels, says Jeffrey Hamelman, a certified master baker, instructor and director of King Arthur Flour’s bakery in the city of Norwich in the US state of Vermont. “They might be among the easiest things to make, because they’re a firm dough.”
With its low ratio of water to flour, bagel dough generally is considered low-hydration. That makes it easier to handle, easier to shape and easier to roll without leaving your hands covered in the floury residue common with higher-hydration recipes for, say, pizza dough. But you don’t want the dough to be too firm, or it’s likely to tear during rolling, resulting in rounds that are scarred and pockmarked in a way that would make even the most forgiving baker grimace.
When were tried cooking our own, however, we couldn’t help noting that the early returns were a bit big, and not as dense and chewy as our ideal. Plus, there was no crackle on either of our crusts.
As soon as we started comparing notes, we realized that even bagel recipes from the most reputable sources can vary widely in ingredients and methodology. So we have merged our approaches into what we think is a straightforward, streamlined path to excellent results, with room for your own tinkering.
TIPS: THE DO’S AND DON’TS
Thou shalt not use the wrong flour:
You might be tempted to pull out the all-purpose most of us have in our pantries, but don’t. Its protein content (generally 10 to 12 percent) is not as high as other, better options, such as bread or high-gluten formulations (about 12 to 14 percent). “The more protein means the chewier the bagel,” says Hamelman.
Let your bagel dough rest:
“I think it would be hard to refute that the flavour is better” when the shaped bagels are refrigerated overnight, says Hamelman. The long, slow rise means the yeast can work its fermentation magic on your dough, which will impart flavours without the shaped rounds expanding too much.
Then give them a bath:
You must boil your bagels. Do not skip this step, says Hamelman. After the overnight refrigeration, boiling helps wake up the yeast in the dough, which makes the bagel begin to puff. It also gelatinizes surface starches to help create shine and enhance crustiness. You can boil your bagels for as little as 30 seconds, which will ensure a dense, chewy ring. Leave them in the water longer for something airier. “It’s going to grow in the water, then it will continue to grow in the oven,” says Hamelman. A general rule: boil until the bagels are about two-thirds as big as you want them to ultimately be.
For baking, make it hot, hot, hot:
We didn’t reach bagel nirvana until we made one crucial addition to our recipe: a pizza stone. We’d achieved a completely acceptable crust in a 450-degree oven while baking the bagels on a baking sheet, but the stone took care of the pale area around the bagels’ equator, meaning we had an evenly brown, crackly exterior – with the characteristic blisters we so wanted to see – that encased a chewy inside.
Practice, and then practice some more:
Do not be discouraged if it takes you forever to roll your first batch (we’ve been there!) or if your bagels turn out a bit lumpy and wrinkled. They’ll taste great, and your family and friends will marvel at your endeavor and thank the heavens for all your experimentation. Each subsequent batch will get better. Trust us.
RECIPE:
Here’s our guide for making a chewy bagel with a gorgeously burnished thin and crackly crust, serving eight to nine people
Ingredients
For the bagels:
1 1/2 teaspoons instant or rapid-rise active dry yeast, preferably SAF brand
337 grams (scant 12 ounces; scant 1 1/2 cups) warm water (80 degrees)
623 grams (22 ounces; approximately 4 cups) bread flour (may substitute high-gluten flour; see headnote)
2 teaspoons salt
1 tablespoon plus 1 teaspoon barley malt syrup
3 tablespoons cornmeal, for dusting
Optional toppings:
Sesame seeds
Poppy seeds
Caraway seed
Dehydrated onion flakes
Dehydrated garlic flakes
Sea or kosher salt
Food trends in 2016
Show all 11Steps:
Mix the yeast into the warm water in a small bowl or measuring cup and let it start to foam while you prepare the rest of the dough. (If the mixture fails to foam after several minutes, dump it out and start over with new yeast.)
Combine the flour, salt and barley malt syrup in the bowl of a stand mixer fitted with a dough-hook attachment. Add the yeast mixture and beat on the lowest speed until the dough starts to come together around the dough hook, about four minutes. Increase the speed to medium-low; beat for seven to 10 minutes or until the dough is cohesive, smooth and stiff.
Dust a rimmed baking sheet with the cornmeal. Turn the dough out onto a work surface, then divide it into eight or nine equal portions (about four ounces each). Roll the pieces into smooth balls and cover with plastic wrap to rest at room temperature for five minutes.
Form each dough ball into a rope 11 inches long by rolling it under your palms. Try to avoid tapering the ends of the rope.
Shape each rope into a circle with a diameter of about four inches, overlapping the ends by about one and a half inches. Pinch the overlapped areas firmly together, moistening them lightly with water if the ends won’t stick. Working with one at a time, place your fingers through each ring of dough; with the pinched-together seam facing down, roll the rope several times, applying firm pressure to seal the seam to form a bagel. Each ring should be about the same thickness all around; if it’s not, you can roll it in other places around the ring to even it out.
Place the dough rings on the cornmeal-covered baking sheet as you work, spaced an inch or two apart. Cover tightly with plastic wrap and refrigerate overnight. The rings will have puffed and spread slightly.
When you’re ready to boil and bake the bagels, place a pizza stone orbaking stone, if using, on the middle oven rack. Preheat the oven to 450 degrees. (The longer you can preheat, the better; up to an hour is great.)
Fill a large, wide pot with three inches of water; bring it to a boil over high heat.
Drop 3 or 4 dough rings into the boiling water, stirring and briefly submerging them with a metal skimmer or slotted spoon, until very slightly puffed, 30 to 35 seconds. Transfer the dough rings to a wire rack, bottom (flatter) sides down, to drain. Repeat with the remaining rings.
If you are using any optional toppings, dip the bagels in them while the dough is still wet.
If you’re baking with the stone, transfer the rings, cornmeal side down, to a sheet of parchment paper on top of a pizza peel or overturned baking sheet. You’ll then just slide the parchment with the bagels directly onto the stone. (Depending on the size of the stone or your comfort in sliding off 8 or 9 bagels at a time, you might choose to bake in two batches, which will also help space the bagels out, for better browning on the crust.) If you’re not using a stone, transfer the bagels to a baking sheet lined with parchment paper.
Bake (middle rack) for 12 to 18 minutes or until the bagels are a deep golden brown and crisp, rotating the parchment paper or baking sheet halfway through; the baking time will depend on whether you’re using a stone and perhaps the heat distribution of your oven.
Use tongs to transfer the bagels to a wire rack to cool. If you’ve split the bagels into two batches, slide the second one in and bake.
Wait for a few minutes before splitting open the hot bagels.
Adapted from “Cook’s Illustrated Baking Book” (Cook’s Illustrated, 2013) and “Bernard Clayton’s New Complete Book of Breads,” by Bernard Clayton (Simon & Schuster, 1995), posted on SeriousEats.com
The Washington Post
Subscribe to Independent Premium to bookmark this article
Want to bookmark your favourite articles and stories to read or reference later? Start your Independent Premium subscription today.
Join our commenting forum
Join thought-provoking conversations, follow other Independent readers and see their replies